The Galactic Empire - as depicted on the cinema screen of Star Wars – is ostensibly notable as a military force dedicated to the application of overwhelming firepower. Imperial Star Destroyers often dwarf the naval vessels of the Rebel Alliance and swarms of TIE Fighters shoot down opposing starfighters en masse. Weapons such as the Death Star(s), dubbed 'technological terrors' by the likes of Darth Vader were capable of beating the Rebels into submission by strength of arms.
Except, is this actually true?
Whilst the Galactic Empire clearly possessed a remarkable technological advantage over their adversary and had a clear numerical superiority in battle situations, they also appeared to be surprisingly skittish and reluctant to either deploy these forces or fully utilize their firepower.
Some of these issues can be attributed to the difficulties inherent in undertaking a successful counterinsurgency (COIN) strategy against a defuse opponent that is reluctant to engage. However, this does not ascribe for all the Galactic Empire’s failings either in fully recognizing, and exploiting, the limitations and shortcomings of their adversary or in making the most of military superiority when battle is achieved.
This article, through a mix of case studies and analysis, will seek to examine the military approaches of a regime that had supposedly conquered much of the galaxy and ruled through strength of arms. If this indeed was the case then it begs a central question – and one this article will seek to answer – why were they so bad at it?

The Empire’s COIN and Coalition Warfare
It should be acknowledged at the outset that there were notable obstacles and difficulties facing the Galactic Empire in their conflict with the Rebel Alliance. This was not a conflict like the Clone Wars which saw regular pitched battles between well-defined combatants but rather an ongoing counterinsurgency operation against highly motivated and isolated resistance cells composed of irregular forces.
Real-world conflicts have shown the difficulties faced by combatant states in dealing with this sort of opponent. The Global War on Terror and actions in Iraq and Afghanistan have proved that fighting against irregular forces is no easier now than it was for the British during the ‘small wars’ that brought down sections of their empire. Victoria Nolan has written at length in her excellent book Military Leadership and Counterinsurgency: The British Army and Small War Strategy since World War II (2012) about how imperial policing campaigns, ‘small wars’, and COIN strategies required ‘social and economic solutions’ and the participation of ‘the police and civil government in a triumvirate with the military’ to gain ‘the support of the local population’. In his book Endless Wars: Hidden Functions of the ‘War on Terror’ (2006), David Keen also explains the counterproductive nature of COIN as ‘abusive violence creates the enemies it claims to be creating’.
Both of these are points that the Galactic Empire failed to take into account in its waging of war against the Rebel Alliance. Firstly, there was clearly no interest in building a political consensus with civilians in the battle zone, which allowed for varying degrees of support for the insurgency to be drawn from local populations. Furthermore, the Empire appeared to completely disregard the possible unintended consequences of its own actions. To adopt a phrase about workmen and hammers: when you’re in possession of a Death Star every problem looks like Alderaan.
Every time the Empire committed another war crime, they multiplied the adversaries that face them. In addition to this, by being so indiscriminate in their approach to waging war, the Empire showed how little they actually understood their own enemy’s political situation. In her seminal book on the First World War, Victory through Coalition (2014), Elizabeth Greenhalgh quoted a (probably apocryphal) statement from Marshal Ferdinand Foch, who served as Supreme Allied Commander in 1918. According to this quote, after the war, Foch reflected that “I lost some of my respect for Napoleon when I learned what it was to fight a coalition war.”
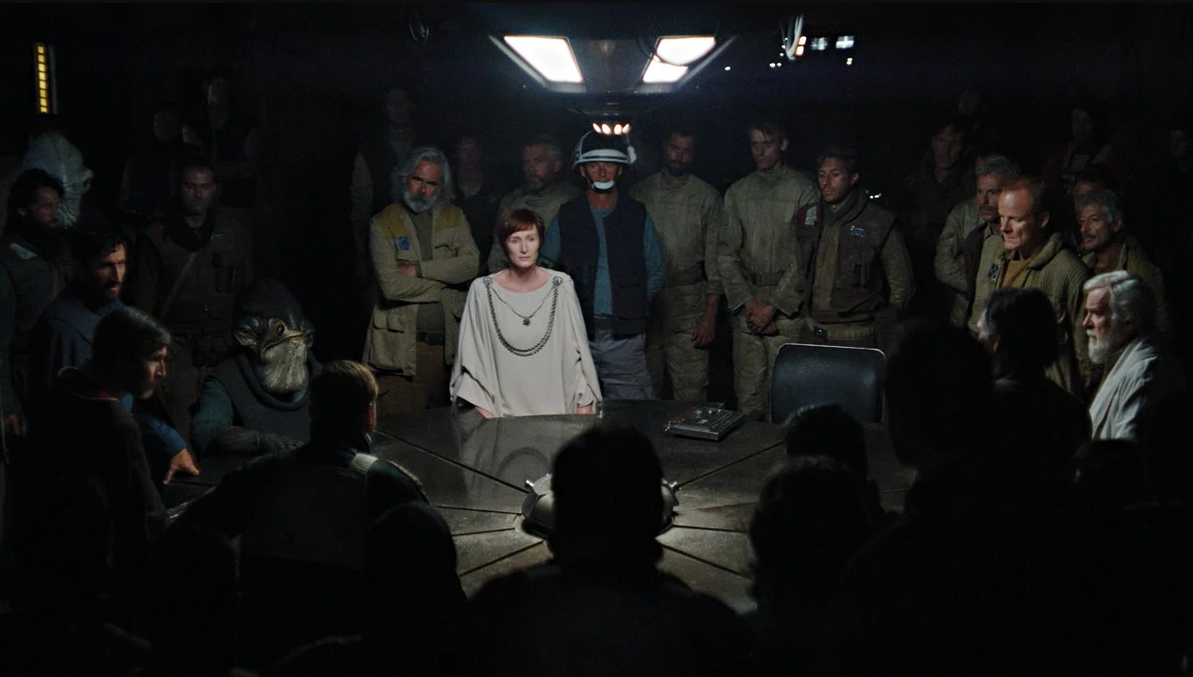
The Rebel Alliance was also a coalition undertaking military action. It was composed of disparate groups, species, planets, and fighting forces. In theory, this should have given the Empire a tremendous advantage over them. The Empire could act with singular unity of purpose and command structure. This was particularly clear given that the consequences of deviation from standing orders appeared to be summary asphyxiation. But despite this advantage, the Empire continued to treat the Rebel Alliance as a single homogenous group and missed the opportunity to drive wedges between its members. Debates over whether to engage in all-out warfare as depicted in Rogue One (2016) show that the Rebel Alliance, similarly to many other coalitions, had a political committee aspect built into its command structure. Such a setup should be ripe for exploitation. But by treating the Rebels as a single unified enemy, the Empire let them off the hook and missed the chance to cause lasting structural damage.
Such missed opportunities then served to place greater importance on the tactics and strategies employed on the rare occasions when the Empire could force the Rebels into direct battle. It is in these battles that the Empire further undermined itself.
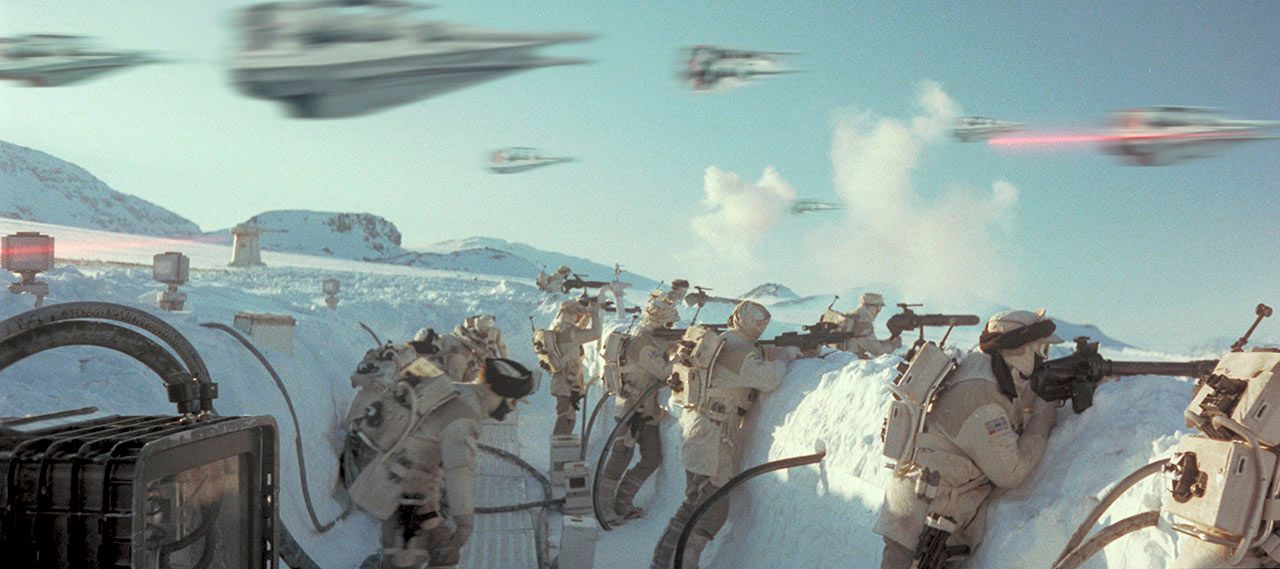
Case Study: The Battle of Yavin and Airpower
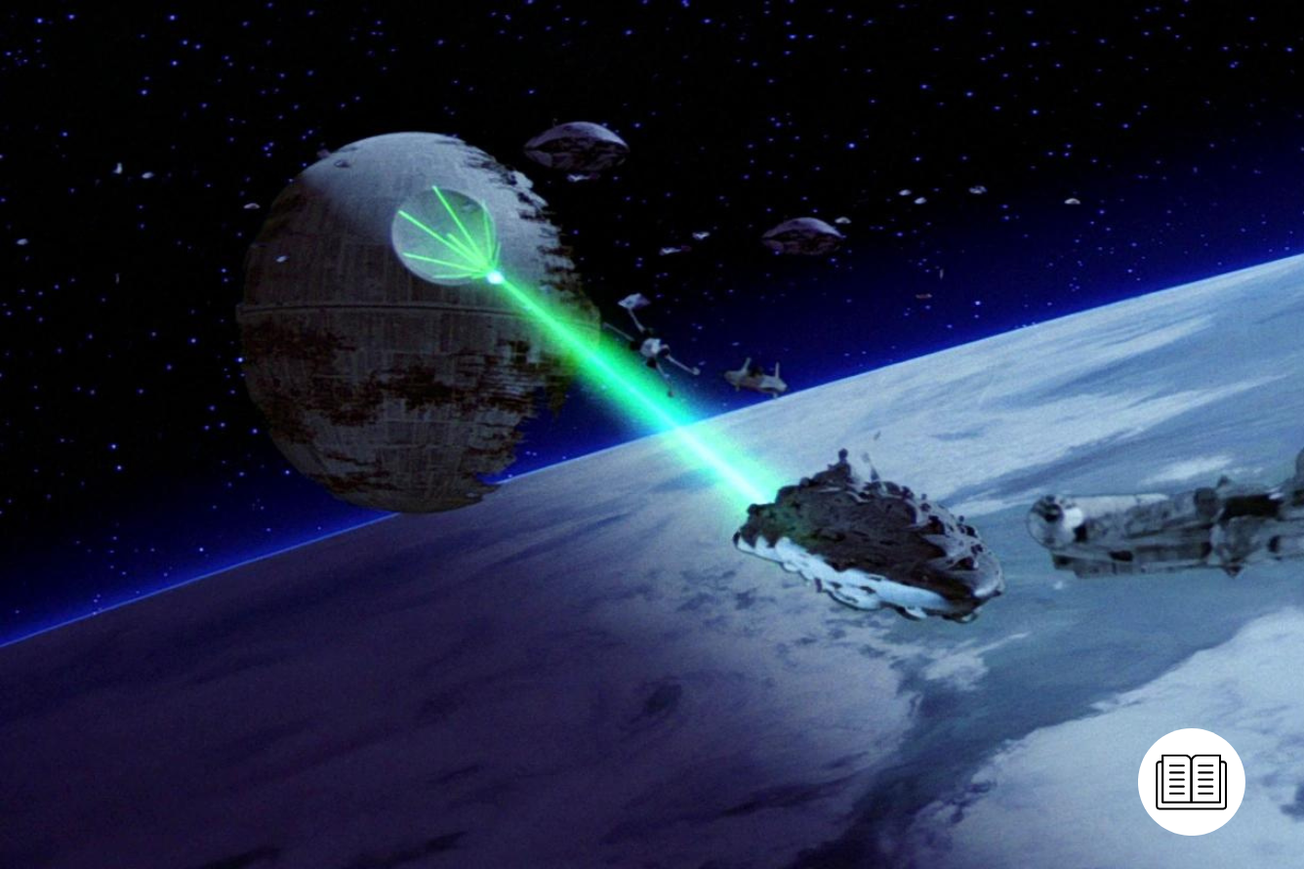
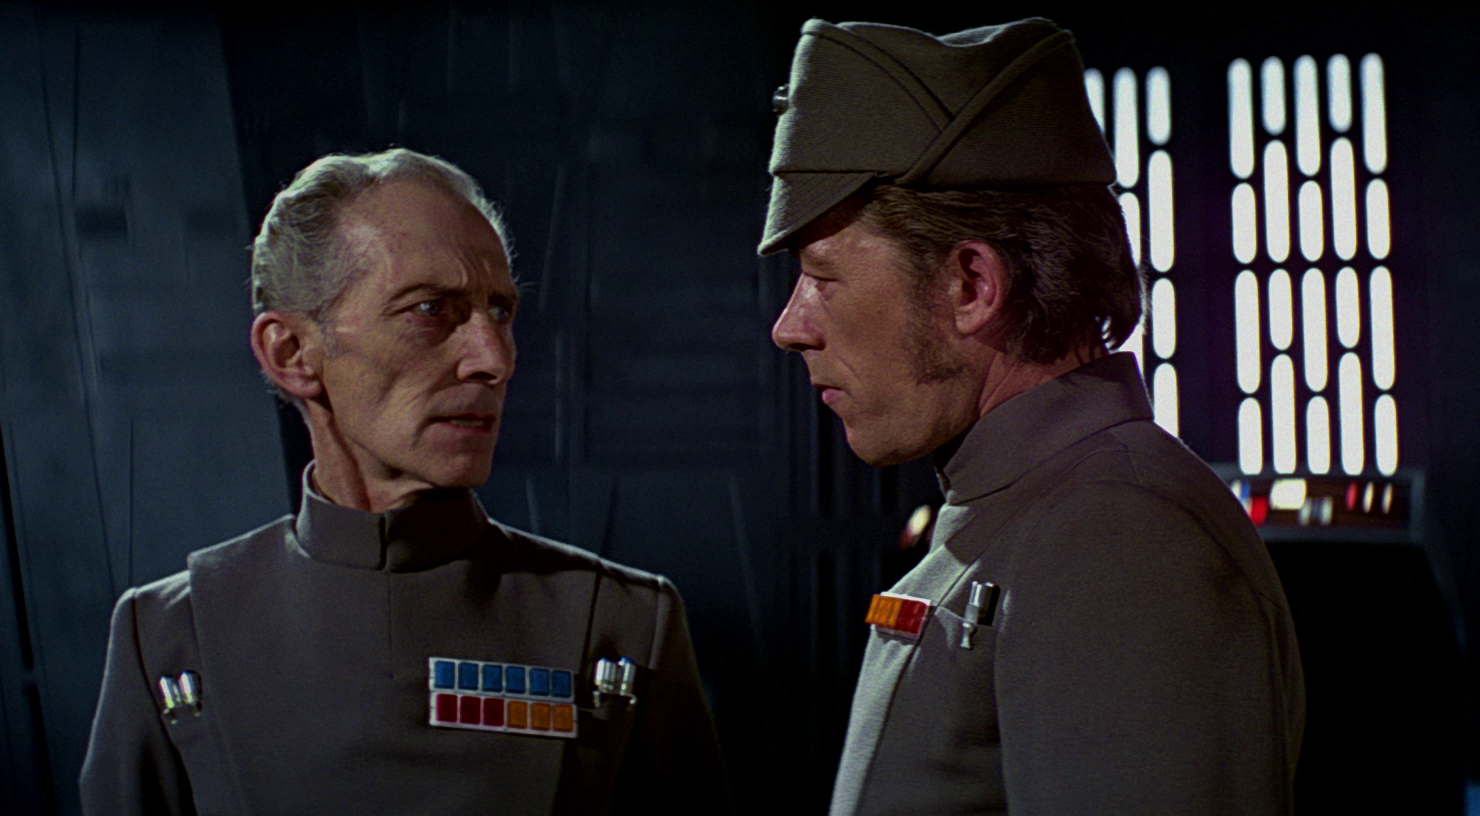
The rationale and wider strategy for the Empire’s engagement at Yavin appeared to be self-explanatory. By tracking down the headquarters of the Rebel Alliance, Grand Moff Tarkin (Peter Cushing) could use the Death Star to destroy the entire moon and, presumably, therefore decapitate the entire insurgency movement. The fact that such a decapitation is not necessarily fatal to insurgencies in self-sustainable cell systems will be discussed in the conclusion below.
However, the overarching strategy was one of destruction: victory through the use of overwhelming firepower. The issue undermining this strategy was: where exactly was that overwhelming firepower? The Death Star itself represented a huge weapon and capacity for destruction, but only against targets of sufficient size. Against small fighters, it had more than a passing resemblance to Bismarck. Large weapons platforms having difficulty targeting and engaging smaller enemies is not that unusual in battlefield situations. It is why battleships and aircraft carriers deploy an air screen after all.
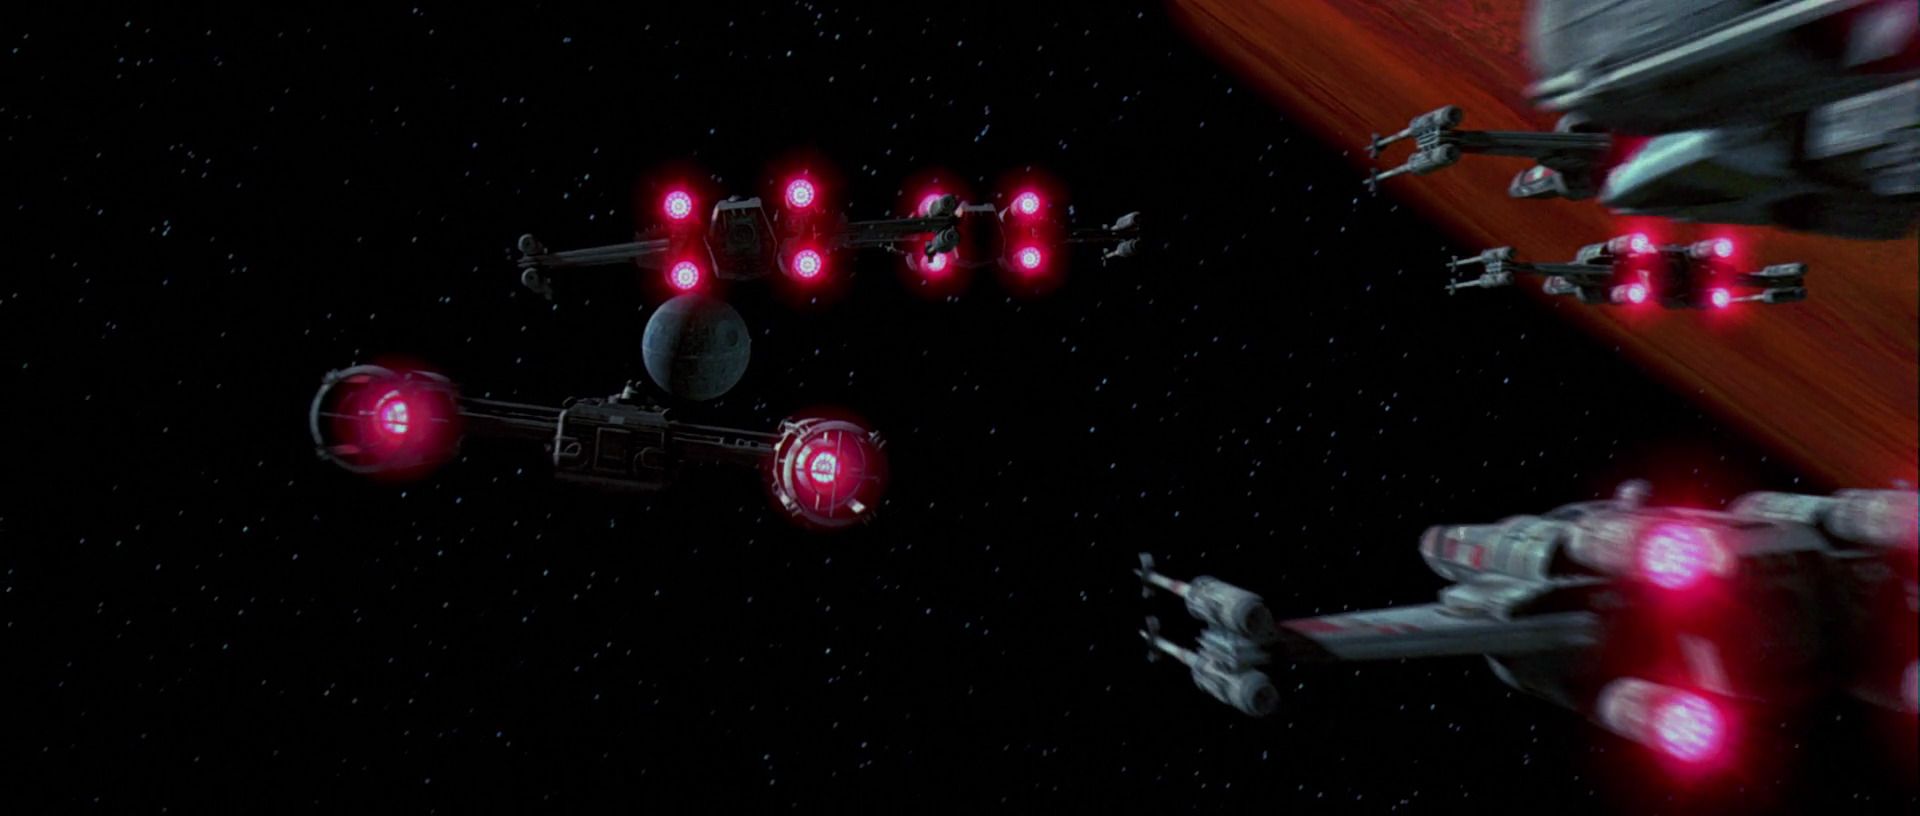
So where were the Empire’s fighter defenses when they engaged the Rebels at Yavin? The Death Star could easily carry thousands of TIE Fighters and assorted variants. Easily enough to wipe out a few dozen Rebel fighters before they could threaten the main station. So why were only a handful of them deployed? Tarkin himself appeared to be the embodiment of over-confidence in the face of battle, refusing to even countenance that the Rebel fighters could pose a threat, but why would that necessarily stop him from utilizing even a fraction of the forces allocated to him?
Furthermore, where were other support ships to escort the Death Star? Darth Vader’s Star Destroyer, Devastator, had fought alongside the battle station at Scarif and delivered Princess Leia (Carrie Fisher) into captivity. Why did it not continue to Yavin? What would the Imperial plan have been upon arriving in the system to discover the Rebel fleet scattering in all directions?
This engagement, which in the words of Tarkin, had been intended to “crush the Rebellion with one swift stroke” presents our first glimpse of the Galactic Empire’s sudden apparent uncertainty which undercuts their arrogance in the face of victory. Given all the problems caused by the Rebel Alliance and the Empire’s own statements regarding the necessity of its destruction, they would want to make certain that victory was achieved at the decisive moment. Instead, through either arrogant overconfidence on behalf of Tarkin or a peculiar reluctance to actually utilize their own military forces, the Empire allowed the Rebel Alliance to destroy the Death Star and survive the engagement. This represented the first example of the Empire’s failure to inflict a final defeat on the Rebel Alliance. Ordinarily, lessons would likely be learned from this debacle but, as we shall see, that appears to not be the case.
Case Study: The Battle of Hoth and Combined Arms Warfare
Following the failure of Tarkin and the Death Star at Yavin, the Rebel Alliance were able to relocate their command base and disappear once again into the wider galaxy. What should have been a potentially war-winning victory for the Empire instead resulted in them having to spread their forces thinly across the galaxy in a bid to track them down.
By eventually locating them on Hoth the Empire was presented with a second chance to destroy the command center and either kill or capture major Alliance leadership. Before the battle was even joined, however, an issue appeared within the Imperial hierarchy. Namely that it appeared that standing orders were for the destruction of the Rebel base and its leadership, whereas Darth Vader was far more concerned with the capture of Luke Skywalker (Mark Hamill).
These two strategic objectives were not easy to reconcile. In a key moment of the battle’s aftermath, Vader reallocated several Imperial Star Destroyers to hunt down the Millennium Falcon in the mistaken belief that it carried his quarry at the expense of the wider strategic objective. The Imperial actions at Hoth have already been well-analyzed by Andrew Liptak in his contribution to the book Strategy Strikes Back: How Star Wars Explains Modern Military Conflict (2018). However, it is worth considering them again here in light of how they reproduce similar mistakes to those seen at Yavin and exposed the lack of operational learning within the Imperial military.
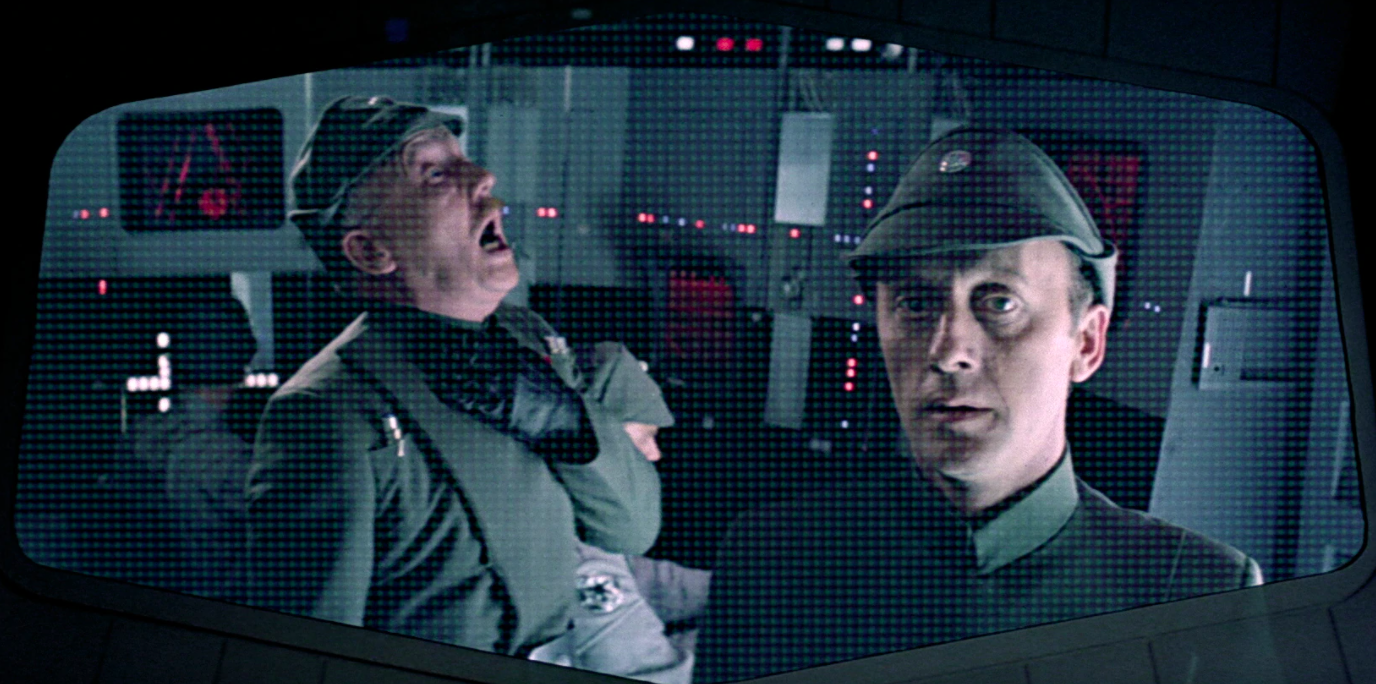
First, the issue of over-confidence arose in Admiral Ozzel (Michael Sheard)’s decision to bring the Imperial fleet out of hyperspace too close to the target system, thus giving away the opportunity to approach unseen. For this error, Ozzel was summarily executed by Darth Vader, but it caused a dramatic shift in the battle scenario now facing the Empire. Instead of catching the Rebels off-guard they now faced a prepared adversary on the ground sheltering beneath an energy field that nullified the advantage of a possible orbital bombardment.
In response, General Veers (Julian Glover) deployed infantry and armored vehicles directly to the planet’s surface to engage the Rebel Alliance and destroy the shield generator. Through doing this, the Star Destroyers – which would maintain an orbital blockade to prevent an evacuation – could be brought back into play in the unfolding battle below. On first reflection, this may seem a sound strategy but there are clear issues with it once again revolving around the apparent timidity – or potentially institutional lack of understanding – regarding the deployment of air power. Joel Hayward’s edited volume Air Power, Insurgency and the “War on Terror” (2009) makes clear that there are limitations on what airpower can achieve during COIN operations but at Hoth, the Empire appeared to have found the ideal scenario where they could engage the Rebels in a conventional set-piece battle. Having deployed infantry and armor onto the field, there is no clear reason why close air support would not be included as well. The fleet of Star Destroyers in orbit, if fully stocked, should have included hundreds of assorted TIE Fighters. More than enough to maintain both the blockade and influence the ground battle.
As it was, the lack of air cover resulted in the Rebels gaining low-altitude superiority with their air speeders, successfully destroying several AT-AT walkers and decisively delaying the Imperial ground advance.
If the rationale behind keeping TIE Fighters in orbit was to prevent the evacuation at the expense of the ground battle, then it seems only reasonable to ask: why were they not a decisive force in space? Before the evacuation, Rebel pilots on the ground protested that whilst escorting transports they would face being “two fighters against a Star Destroyer.” In reality, this should have been “against a Star Destroyer and several hundred TIE Fighters” but they never emerged into battle.
This might be an influence of Vader’s reluctance to risk killing Luke Skywalker but, nonetheless, there should have been a sizeable fighter screen acting to disable transports or force them towards Imperial capital ships for capture, but none appeared to be operating. A small handful of TIEs were subsequently sent in pursuit of the Millennium Falcon but the rest of the Empire’s airpower was either never committed to battle or was deployed in roles that effectively remove them from the equation.
As a result, once again, although the Rebel Alliance suffered a significant defeat, they were not removed as a fighting force and much of the leadership on Hoth escaped.
Case Study: Endor and Overwhelming Firepower
The final major cinematic engagement of the Galactic Civil War took place at Endor and – for the Empire – proved to be the culmination of an operational learning path that seemed to eschew the most obvious conclusions in favor of doctrinal tweaks.
The Imperial plan at Endor was largely sound. Having failed repeatedly to defeat the Rebel Alliance out in the Galaxy, the Empire changed tack in luring them into a battle they would have to commit forces to. That it took years for this strategy to come to pass is further criticism of Imperial military command. Given the coalition nature of the Rebel Alliance, it should not have taken so long to locate a target that could produce both the desired battle and possibly split the united Alliance resolve. By drawing the Alliance into a trap and then pinning them in a gravity well between the moon of Endor and the Second Death Star, the Imperial Fleet was able to close the route to escape behind them and ensure that a decisive engagement could be attempted.
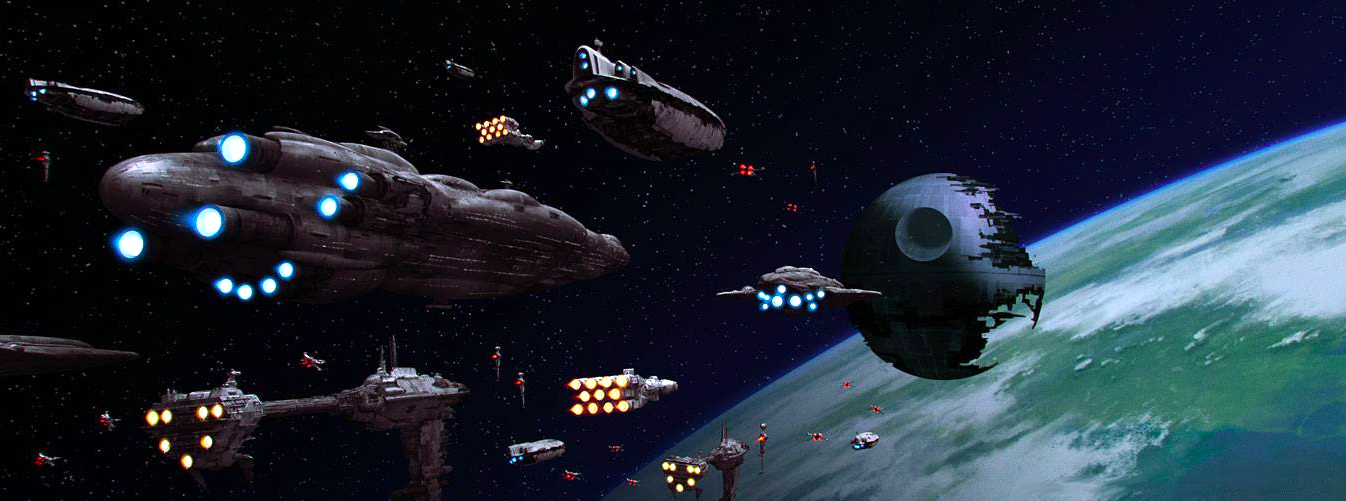
But having achieved this scenario the Empire once again began to squander its advantages through a mix of restricting commands from the Emperor (Ian McDiarmid) himself, poor starfighter tactics, and dubious target identification.
The battle began with an advanced wave of TIEs intended to disrupt the Alliance formation, thin out their fighter support, and target key vessels such as a medical frigate. However, these fighters raced into close-quarters engagement without any form of support vessels backing them up.
Admiral Piett (Kenneth Colley), the senior military officer in charge of the Imperial fleet at Endor was hobbled by the order from the Emperor to simply prevent the Rebels from escaping thus meaning he could not commit his Star Destroyers to battle on his own terms whilst sacrificing a substantial chunk of his own TIE Fighters to destruction under the guns of Rebel capital ships and fighters.
The Emperor’s reasoning behind this order was to allow the Death Star’s superlaser to begin destroying the Rebel fleet. This was a weapon that the Rebels had not anticipated and did have an impact on their fleet formation and morale. But despite this at no stage did Moff Jerjerrod (Michael Pennington), the officer in charge of the Death Star, order it to be used on the Rebel command ship which was clearly the largest vessel in the enemy fleet. Destroying that would have robbed the Rebels of much of their coordination.
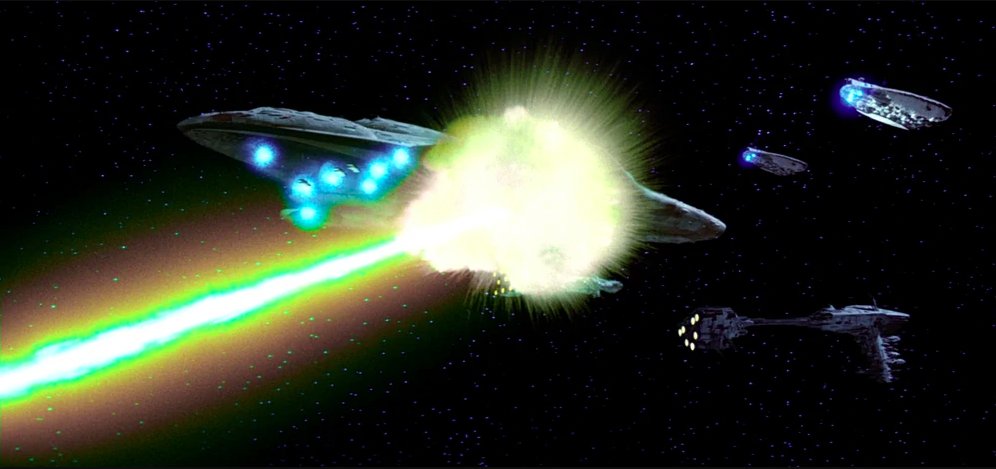
Instead, it seemed to target vessels almost at random. To escape that powerful weapon, the Rebel fleet closed the distance with the Imperial Star Destroyers and engaged them at point-blank range.
The Empire was caught at a disadvantage of now having to engage an enemy that was disrupting their own blockade formation whilst also struggling with a dramatically reduced fighter screen because theirs had been squandered in the earliest stages of the battle. The result was, once again, an Imperial battle plan that verged on the timid and relinquished all the initiative that had been present once the trap was sprung, and again when the Death Star was shown to be operational.
For a military that seemingly prided itself on its strength over flexible thinking, the Empire never appeared able to actually utilize it in battle.
Conclusion and Legacy
As has been discussed in the case studies above, a peculiar mix of overconfidence, doctrinal confusion, and reluctance to fully deploy airpower repeatedly undermined the Imperial war effort. Given how desperate they often were to force the Rebel Alliance into battle they repeatedly squandered any opportunities they encountered to end the war on the field.
What is interesting about these flaws is that many of them were later adopted by the First Order which eventually succeeded the Empire. They too were obsessed with finding the Resistance headquarters and destroying them. But both the Empire and First Order never seemed to understand that the Rebellion’s strength was in people rather than location. Bases could be destroyed but if the cell systems survived then so would the insurgency. Furthermore, Mon Mothma (Caroline Blakiston in Return of the Jedi and Genevieve O’Reilly in Rogue One) – the main leader of the Rebel Alliance – was never present during the key battles at Yavin and Hoth so would have escaped anyway.
When encountering the Resistance evacuating from their base on D’Qar, the First Order deployed a Dreadnaught capital ship, described as a ‘fleet killer’ by Poe Dameron (Oscar Isaacs). It had a choice of possible targets: the rapidly emptying base on the planet, or the command ship in orbit. It picked the planet and as a result, allowed the leadership to escape. Later when chasing that same ship – now stripped of its fighter defenses and low on fuel – the First Order pulled back a TIE Fighter attack because they could not be adequately covered by nearby capital ships.
This decision again cost them the war. Both the Galactic Empire and the First Order found themselves locked in asymmetric warfare against an opponent that could rarely be engaged in battle. Because of this any engagements that could be achieved took on far greater importance.
As it transpires the Empire repeatedly lost those battles and the opportunities they presented through a mix of confused strategies, a lack of understanding regarding their opponents, but predominantly an inability to deploy their overwhelming forces when the situation called for it. For a totalitarian dictatorship, they just weren’t ruthless enough…
This article was first published on March 24th, 2022, on the original Companion website.
The cost of your membership has allowed us to mentor new writers and allowed us to reflect the diversity of voices within fandom. None of this is possible without you. Thank you. 🙂